The Battle of Isandlwana represents a pivotal moment in the Anglo-Zulu War, highlighting the complexities of colonial military engagements. This analysis examines the circumstances leading to the battle, the forces involved, and the consequences of the Zulu victory against British troops. By exploring strategies employed by both sides, as well as the unexpected challenges faced by the British, you will gain insight into how this encounter reshaped colonial perceptions of indigenous military capabilities.
In addition to chronicling the events of the battle, this discourse will address the implications of Isandlwana on subsequent British military strategies in the region. The narrative details the British misjudgment regarding Zulu strength and tactics, culminating in a staggering defeat that mandated a reevaluation of their approach to warfare in Zululand. Ultimately, the battle not only altered military operations but also significantly impacted the political landscape, demonstrating the intricate relationship between military engagements and broader colonial ambitions.
The Battle of Isandlwana: A Decisive Encounter in the Anglo-Zulu War

Background of the Anglo-Zulu War
Origins of the Conflict Between the British Empire and the Zulu Kingdom
The Anglo-Zulu War of 1879 emerged from a complex interplay of colonial ambition and indigenous resistance. At its heart, the conflict was fueled by the British Empire’s relentless pursuit of territorial expansion in Southern Africa. You find yourself contemplating the traditions and communal ties of the Zulu Kingdom, a society reliant on its rich cultural heritage. The British, seeking dominance over the region, miscalculated the military capabilities and unity of the Zulus, who were determined in their defense of land and sovereignty. Tensions culminated due to previous military conflicts, land disputes, and the imposition of British political influence, ultimately leading to war.
The Impact of British Colonial Expansion in Southern Africa
The ramifications of British colonial expansion were profound. As you explore this era, you consider how the British aimed to consolidate control over the region, viewing the Zulu Kingdom as an impediment to their economic interests. The aftermath of the 1877 annexation of the Transvaal exacerbated tensions; it alienated the Zulu leaders and ignited their resolve to oppose further encroachment. You recognize the dual narrative of progress and destruction: while the British sought to ‘civilize’ through economic means, their actions wrought upheaval and fostered resentment among indigenous peoples.
Key Figures in the Conflict: Lord Chelmsford and King Cetshwayo
Two pivotal figures shaped this confrontation. Lord Chelmsford, the British commander-in-chief, represented imperial ambition and military professionalism. You may perceive him as an embodiment of British hubris, underestimating both the tactical sophistication of the Zulus and the realities of the terrain. In stark contrast stands King Cetshwayo, the Zulu monarch, whose formidable leadership galvanized his people. As you reflect upon his strategies, you appreciate Cetshwayo’s determination to preserve his kingdom’s autonomy against an invader that wielded advanced weaponry with an overinflated sense of superiority.
The British Invasion
Overview of the British Military Strategy
The British strategy entailed a multifront invasion, whereby Lord Chelmsford conceptualized a plan to encircle the Zulu forces. As you analyze this tactical maneuvering, it becomes clear that the British aimed to leverage their technological superiority to obliterate the Zulu Army quickly. This ambitious strategy, however, underestimated the Zulus’ guerrilla warfare tactics and their knowledge of local geography.
Composition of British Forces at Isandlwana
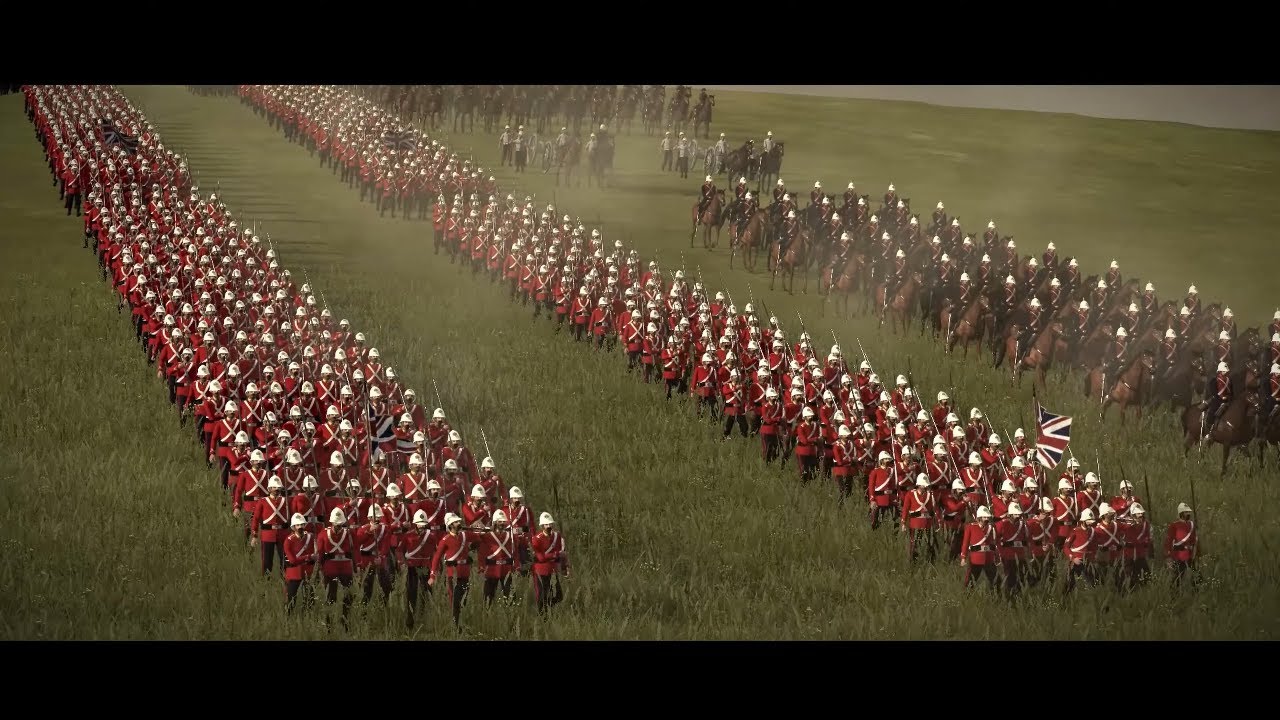
At Isandlwana, you encounter a convoluted picture of a British force comprising approximately 7,800 men. This notable contingent included regular infantry companies, local African auxiliaries from the Natal Native Contingent, and irregular colonial cavalry units. Illustrating their military confidence, the British relied heavily on their Martini-Henry rifles and artillery support, convinced of their capability to decimate any opposition.
Challenges Faced During the Invasion, Including Weather and Logistics
Yet, the British found themselves entangled in significant logistical challenges. The inclement weather, combined with the rainy season, impeded their advance, transforming it into a sluggish operation fraught with difficulties. You can see how this not only hampered the effectiveness of their forces but also laid bare the vulnerabilities of British military expeditions during this period.
The Zulu Military Structure
Composition of the Zulu Army: Warriors and Their Training
Contrary to many preconceived notions, the Zulu army represented a formidable force characterized by its unity and warrior ethos. You learn that although they lacked the sophisticated weaponry of their British counterparts, the Zulu warriors were trained rigorously in hand-to-hand combat and tactics, cultivating both discipline and determination.
Weapons and Tactics Used by the Zulu
The Zulu warriors primarily wielded spears, notably the traditional assegai, alongside shields crafted from cowhide. You can feel the tension building as you consider how their strategy relied on rapid movement and surprise attacks, employing the environment for ambushes rather than engaging in conventional battle formations. The ingenuity of their tactics set the stage for the dramatic confrontation to follow.
Role of the Zulu King and Leadership During the Battle
As a leader, King Cetshwayo imbued his forces with a sense of purpose, thus shaping the collective identity of the Zulu army. Your mind reflects on how his presence and strategic decisions drove their motivations, not merely as soldiers but as defenders of their homeland.
The March to Isandlwana
The Zulu Plan of Attack and Troop Movements
You delve into the meticulous planning that characterized the Zulu approach to the impending battle. Under Cetshwayo’s command, the Zulu forces advanced in well-coordinated columns, utilizing scouts to mask their movements. It is through this calculated march that they prepared to meet the British forces not in a manner expected by their adversaries, but rather on their own terms.
British Scouting Actions and Intelligence Failures
Conversely, British scouting actions revealed a poor grasp of Zulu intentions. Chelmsford’s reliance on reconnaissance became a fatal flaw; the British severely underestimated the scale and tenacity of Zulu forces. Your analysis leads you to consider how intelligence failures can dictate the course of operations and lead to unexpected, disastrous outcomes.
Division of Lord Chelmsford’s Forces
The decision to divide forces on the eve of the engagement exemplified a critical miscalculation. Chelmsford’s division of troops, leaving part of his army at the encampment, echoed a confidence that would soon be challenged. Your reflection on this decision underscores how hubris can cloud judgment, especially in the chaotic theater of war.

The British Camp at Isandlwana
Camp Layout and Defenses
Upon arriving at the British camp at Isandlwana, you visualize an arena of assumed invulnerability. However, the camp’s layout and hasty establishment left it insufficiently fortified against the advancing Zulu forces. The lack of proper defenses became a glaring oversight of British military strategy.
Underestimation of Zulu Forces
The British arrogance in assuming Zulu forces were inferior became a critical factor in their ultimate failure. You grasp the stark reality of overconfidence in technology and numbers, leaving them oblivious to the fierce spirit of a people fighting for their existence.
Decisions Made by British Commanders
The decisions made by British commanders during this precarious time reflect a dichotomy between training and experience versus perception and reality. As you reflect on their orders and discussions, you grow increasingly aware of how leadership failures can mean the difference between victory and disaster.
The Prelude to Battle
Initial Encounters Between British and Zulu Scouts
As skirmishes erupted between British and Zulu scouts, you witness the gathering storm of conflict. The British saw themselves as the guardians of civilization, while the Zulus fought with fierce resolve. Each encounter brought the inevitability of larger confrontational engagements into sharper focus.
Durnford’s Arrival and Actions
Colonel Durnford’s sudden arrival with reinforcements provided a momentary flicker of hope for British forces. However, as you analyze his actions, you recognize that the integration of his troops into a cohesive unit lacked the necessary synergy to mount a successful defense against the oncoming Zulu onslaught.
Reports of Increasing Zulu Presence
The increased reports noting the significant Zulu presence began to permeate the British camp, yet the reaction was hampered by disbelief and underestimation. You can feel the tension building as British commanders grappled with the reality that their seemingly invincible position was about to be shattered.

The Battle Commences
The Sequence of Initial Engagements
When the battle finally commenced, chaos unleashed itself upon the battlefield. You sense the gravity of each initial engagement, where the disciplined fire of the British troops initially held the Zulus at bay, but their tactical foresight would soon turn the tide.
British Tactics and Zulu Strategies During the Battle
The British, confident in their use of a steady rifle volley, faced the relentless Zulu advance, which showcased an agility and adaptability that belied their technological inferiority. You observe how tactical evolution in the heat of battle became decisive, casting shadows on British doctrines of warfare.
Critical Moments Leading to the British Retreat
Amidst the clashes, several critical moments portrayed the fragility of British dominance. As the Zulus maintained their relentless assault, you note how decisions made during these moments shifted the momentum irreversibly, forcing a retreat that would soon rend the British lines.
The Turning Point
Key Events That Shifted Momentum to the Zulu
The unyielding Zulu assault wore down British morale. You witness pivotal moments, including the desperate attempts of British leaders to regroup their forces amid the encroaching disaster. Your analysis reveals that the psychological impact of the advancing Zulus shifted the balance in ways mere numbers could not convey.
The British Last Stand and Desperate Attempts to Regroup
As the British attempted to fortify their position, their lack of reinforcements and mounting casualties precipitated a last stand. You resonate with the profound desperation of this final defensive effort, exemplifying the resilience of soldiers in the face of inevitable defeat.
Impact of the Total Eclipse of the Sun on the Troops
An ominous total eclipse of the sun cast an eerie pall over the battlefield, creating a metaphorical darkness that enveloped British forces. This moment, laden with symbolism, further exacerbated their psychological unraveling. You reflect on how such phenomena can influence human behavior, especially amidst the chaos of war.
Casualties and Aftermath
Analysis of Casualties on Both Sides
In the aftermath, the consequences were staggering. The British suffered catastrophic losses, with estimates of over 1,300 fatalities, many from the regular British Army. At the same time, Zulu casualties ranged between 1,500 and 2,000. This analysis highlights the proportional loss of life experienced by both sides and reflects the harrowing realities of warfare.
Immediate Effects on British Military Strategy
The immediate repercussions of Isandlwana compelled the British government to reassess its military strategy in Southern Africa, inciting a desire for swift retribution. You examine how this defeat, while catastrophic, ignited a fervor that led to vast reinforcements aimed at reclaiming lost prestige and territory.
Long-Term Consequences for the Zulu Kingdom
While the Zulu prevailed at Isandlwana, the long-term ramifications of the battle were dire. King Cetshwayo’s hopes for negotiated peace were dashed, and the heavy-handed reprisals from the British military ushered in further repression of Zulu autonomy. Your understanding of the cultural and political environment is enriched by recognition of how victories may simultaneously sow the seeds of future subjugation.
Conclusion
Summary of the Battle’s Significance in the Anglo-Zulu War
Recalling the significance of the Battle of Isandlwana, you synthesize its historical ramifications as a turning point in the Anglo-Zulu War. This engagement exemplifies the complexities of colonial dynamics and indigenous resistance while also serving as a testament to the human spirit in conflict.
Reflections on the Cultural Memory of Isandlwana
Isandlwana remains a potent symbol in both British and Zulu cultural memory. For the Zulus, it epitomizes courage in the face of colonial oppression, while for the British, it represents a constant reminder of the fallibility of imperial ambitions. Your reflections deepen your understanding of the narratives that inform national consciousness.
Ongoing Relevance of the Battle in Discussions of Colonialism and Resistance
The battle’s legacy persists in contemporary discussions surrounding colonialism, resistance, and the narratives of marginalized peoples. You begin to see how Isandlwana is not merely a military engagement but a flashpoint in the ongoing discourse about identity, agency, and the fight for self-determination in the shadow of colonial adversities. The exploration of such events encourages continuous reflection on how history shapes individual and collective identities in our modern world.
